Utilizing the UITableViewController for Easy Creation of Table Views
Problem
You want to be able to create table views quickly.
Solution
Use the UITableViewController view controller, which by default comes with a table view controller.
The iOS SDK contains a really handy class called UITableViewController that comes predefined with a table view instance inside it. In order to take advantage of this class, all you have to really do is create a new class that subclasses the aforementioned class. Here, I will walk you through the steps necessary to create a new Xcode project that utilizes the table view controller:
- In Xcode, from the menu bar, choose File → New → Project…
- On the lefthand side of the screen, make sure the iOS category is selected. Then choose the Application subcategory. On the righthand side, choose the Empty Application template and then press the Next button, as shown in Figure 4-20.
- In the next screen, simply choose a name for your project and make sure that you are using Automatic Reference Counting. Also make sure everything except for the Organization Name and the Company Identifier in your dialog is the same as the one that I am demonstrating to you in Figure 4-21. Once you are done, press the Next button.
- In the next screen, you are given the opportunity to save your application to disk. Simply save the application in a place that makes sense to you and press the Create button.
- In Xcode, choose the File → New → File… menu.
- In the dialog, make sure iOS is the main category on the lefthand side and that Cocoa Touch is the subcategory that is selected. Then on the righthand side of the dialog, choose the Objective-C class as shown in Figure 4-22.
- In the next screen, you get to choose the superclass of your new class. This step is very important. Make sure that you set your superclass to UITableView Controller. Also make sure the rest of your settings are the same as those that I am demonstrating in Figure 4-23. After you are done, press the Next button.
- In the next screen, you get the chance to save your table view controller in your project. Go on, save it as the ViewController class and press the Create button.
- In the implementation file of your app delegate, remember to import this view controller’s header file and then create an instance of this class and set it as the root view controller of your application, as shown here:
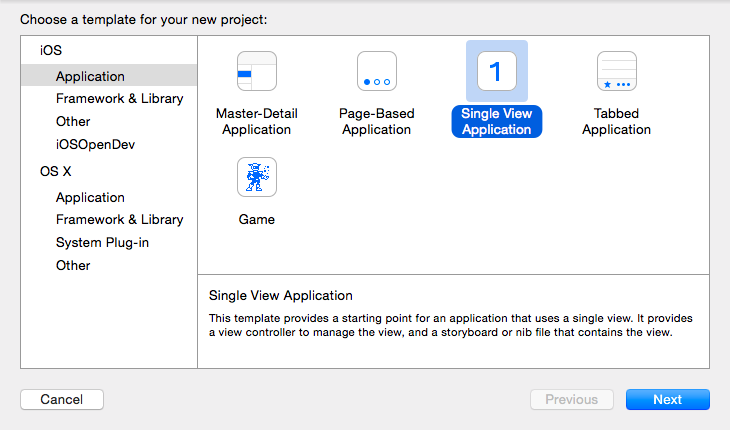
Figure 4-20. Creating a new empty application that will later contain our table view controller
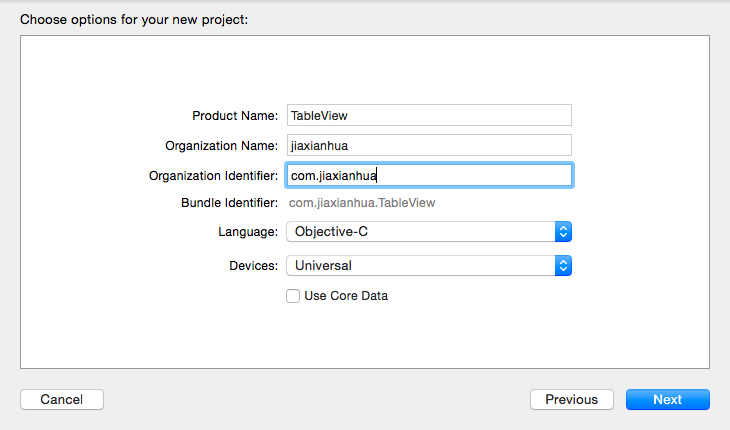
Figure 4-21. Configuring our new empty application in Xcode
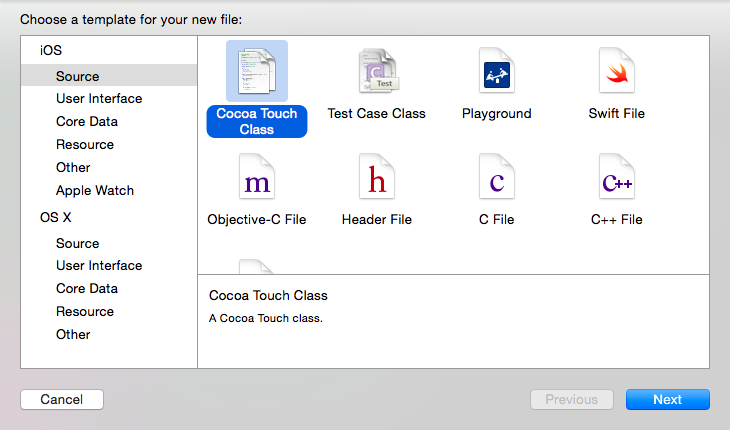
Figure 4-21. Configuring our new empty application in Xcode
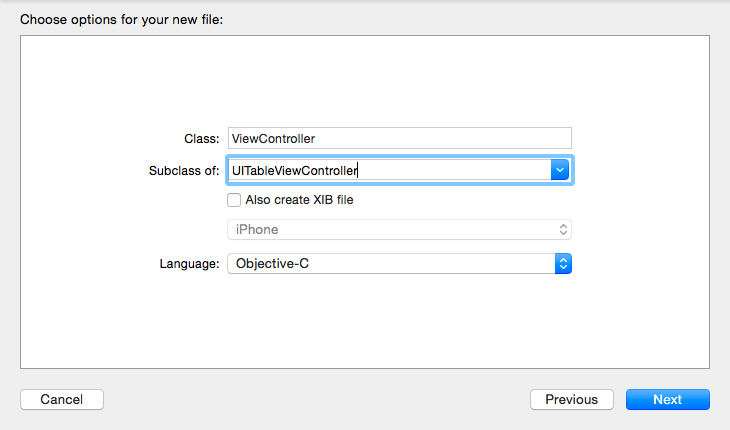
Figure 4-23. Setting the superclass of our new object that will become the table view controller
Now if you try to compile your project, you will see that the compiler will give you the following warnings:
ViewController.m:47:2: Potentially incomplete method implementation.
ViewController.m:54:2: Incomplete method implementation.
This simply tells you that there are warnings that you have to take care of in the implementation file of your view controller. If you open this file, you will see that Apple has inserted #warning macros in the table view controller class template, which are causing these warnings to be displayed on your screen. One warning is placed inside the numberOfSectionsInTableView: method and the other one is inside the tableView:numberOfRowsInSection: method. The reason we are seeing these warnings is that we have not coded the logic for these methods. The minimum information that the table view controller must have is the number of sections to display, the number of rows to display, and the cell object to be displayed for each row. The reason you are not seeing any warnings for the lack of cell object implementation is that Apple by default provides a dummy implementation of this method that creates empty cells for you.
The table view controller by default is the data source and the delegate of the table view. You do not have to specify a delegate or a data source separately to the table view.
Now let’s go into the implementation of our table view controller and make sure that we have an array of strings (just as an example) that we can feed into our table view:
#import "ViewController.h"

@interface ViewController ()
@property (nonatomic, strong) NSArray *items;
@end

@implementation ViewController

- (void) viewDidLoad {
	[super viewDidLoad];

	// Custom initialization
	self.items = @[ @"Anthony Robbins", @"Steven Paul Jobs", @"Paul Gilbert", @"Yngwie Malmsteen"];
}

- (NSInteger)numberOfSectionsInTableView:(UITableView *)tableView {
	return 1;
}

- (NSInteger)tableView:(UITableView *)tableView numberOfRowsInSection:(NSInteger)section {
	return self.items.count;
}

- (UITableViewCell *)tableView:(UITableView *)tableView cellForRowAtIndexPath:(NSIndexPath *)indexPath {
	static NSString *CellIdentifier = @"Cell";
	UITableViewCell *cell =
	[tableView dequeueReusableCellWithIdentifier:CellIdentifier];

	if (cell == nil) {
		cell = [[UITableViewCell alloc] initWithStyle:UITableViewCellStyleDefault reuseIdentifier:CellIdentifier];
	}

	cell.textLabel.text = self.items[indexPath.row];

	return cell;
}
Now if we run our app, we will see something similar to what is shown in Figure 4-24.
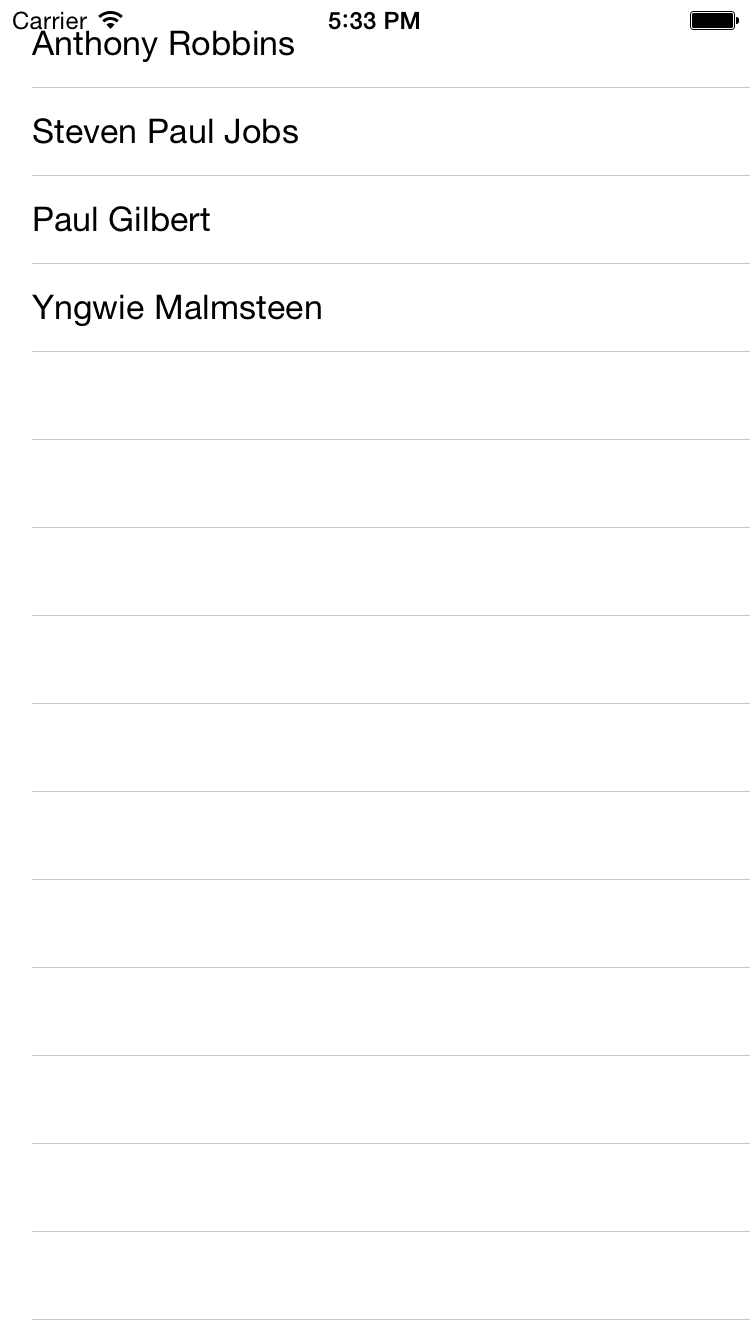
Figure 4-24. Our strings are properly displayed in the table view
That’s pretty much all there is to know about table view controllers. Remember, as mentioned before, that your table view controller is the delegate and the data source of your table view now. So you can implement the methods in the UITableViewData Source protocol as well as the UITableViewDelegate protocol’s methods right in the implementation of your table view controller.